

Late or Crackly? Pick One.
You plug in your mic.
You put on your headphones.
You start singing.
And your voice comes back…
As an echo.
Like singing into a canyon.
So you open the DAW Settings.
You turn a number down.
The delay is gone.
You’re a genius!
Then you press play on your mix.
Click.
Pop.
CRACKLE.
That number is your buffer size.
Is something broken?
No.
Is it a trade?
Yes.
What Is Latency? My Voice Sounds Delayed When I’m Recording
Quick Summary
Buffer size is how many samples your computer collects before it processes them:
👉 Small buffer size = less delay, more work for your computer
👉 Big buffer size = more delay, less work for your computer
For most home studios we want:
👉 64 or 128 samples to record (small)
👉 512 or 1024 samples (or more) to mix (big)
Low buffer when you record = lower latency (delay).
High buffer when you mix = more plugins!
🤔 It seems weird that you have to switch it manually, but you do.
1. 🪣 What Is a Buffer?
ELI5:
Your computer doesn’t handle sound one sample at a time.
It fills a bucket first.
Then it processes the whole bucket.
Then the next one.
That bucket is the buffer.
A small bucket fills fast.
A big bucket takes longer.
The time it takes to fill is your delay.
Let’s do the Math:
At 48 kHz, your computer handles 48,000 samples every second.
128 samples ≈ 2.7 ms
1024 samples ≈ 21 ms
That’s one way.
Your sound goes in, gets processed and comes back out.
So the round trip is longer than the number on the screen.
2. 🎤 Recording: Go Low
Latency is the time delay between the sound going in to your DAW (your mic or MIDI controller) and the same sound coming back after being recorded into your DAW (your headphones or speakers).
When you sing or play, you need to hear yourself now.
Not later.
Sound travels about 1 foot every millisecond.
So 10 ms of delay sounds like standing 10 feet from your amp.
A few milliseconds of delay feels normal.
Around 10 ms, many singers and drummers start to notice the latency.
Their timing drifts behind the beat.
Try:
👉 Setting the buffer to 64 or 128 samples.
👉 Turning off heavy plugins while you record.
👉 Freezing tracks that are already finished.
The 7 Steps To Recording Your Voice At Home
3. 🎛️ Mixing: Go High
When you mix, nobody is recording anymore.
A little delay is fine.
You won’t notice 20 ms when you press play.
But your computer will notice your 400 cool plugins maxing out its brain.
Raise the buffer to 512 or 1024 samples (or more if you have it).
More time per bucket.
Fewer clicks.
Fewer pops.
Fewer dropouts.
⭐️ Download my Free Music Production Guides or take my free Ableton Live Course ⭐️
4. 🔧 Where to Find It
Ableton Live
Settings → Audio → Buffer Size
Ableton Live shows your current settings’ Overall Latency right under it.
Avid Pro Tools
Setup → Playback Engine → H/W Buffer Size
Apple Logic Pro
Settings → Audio → I/O Buffer Size
On Windows, some audio interfaces set it in their own control panel.
⚔️ Buffer Sizes Compared
| Buffer Size | Delay at 48 kHz* | Best For |
|---|---|---|
| 32 | 0.7 ms | Fast computers, playing software instruments |
| 64 | 1.3 ms | Recording vocals and instruments |
| 128 | 2.7 ms | Recording with a few plugins on |
| 256 | 5.3 ms | Writing and building a beat |
| 512 | 10.7 ms | Mixing |
| 1024 | 21.3 ms | Big mixes with lots of plugins |
*One way, for the buffer alone. Your round trip will be longer.
The Best Audio Interfaces for Beginners
⚖️ Too Small vs. Too Big
Too small…
And your computer can’t keep up.
Clicks.
Pops.
Dropouts.
Too big…
And you hear yourself late.
Just right is the smallest number that plays clean.
🥷 Set It Twice
Ask:
Am I recording or mixing?
Step 1
Before you record, set the buffer to 128.
Play.
Hear clicks?
Go up one step.
Step 2
Before you mix, set it to 512 or 1024.
Step 3
Still crackling?
Freeze tracks.
Or bounce them to audio.
Bonus: Direct Monitoring
Many audio interfaces let you hear the mic before it reaches your computer.
Look for a knob or switch called Direct Monitor.
No computer.
No buffer.
No delay.
Low to play.
High to mix.
Set it twice.
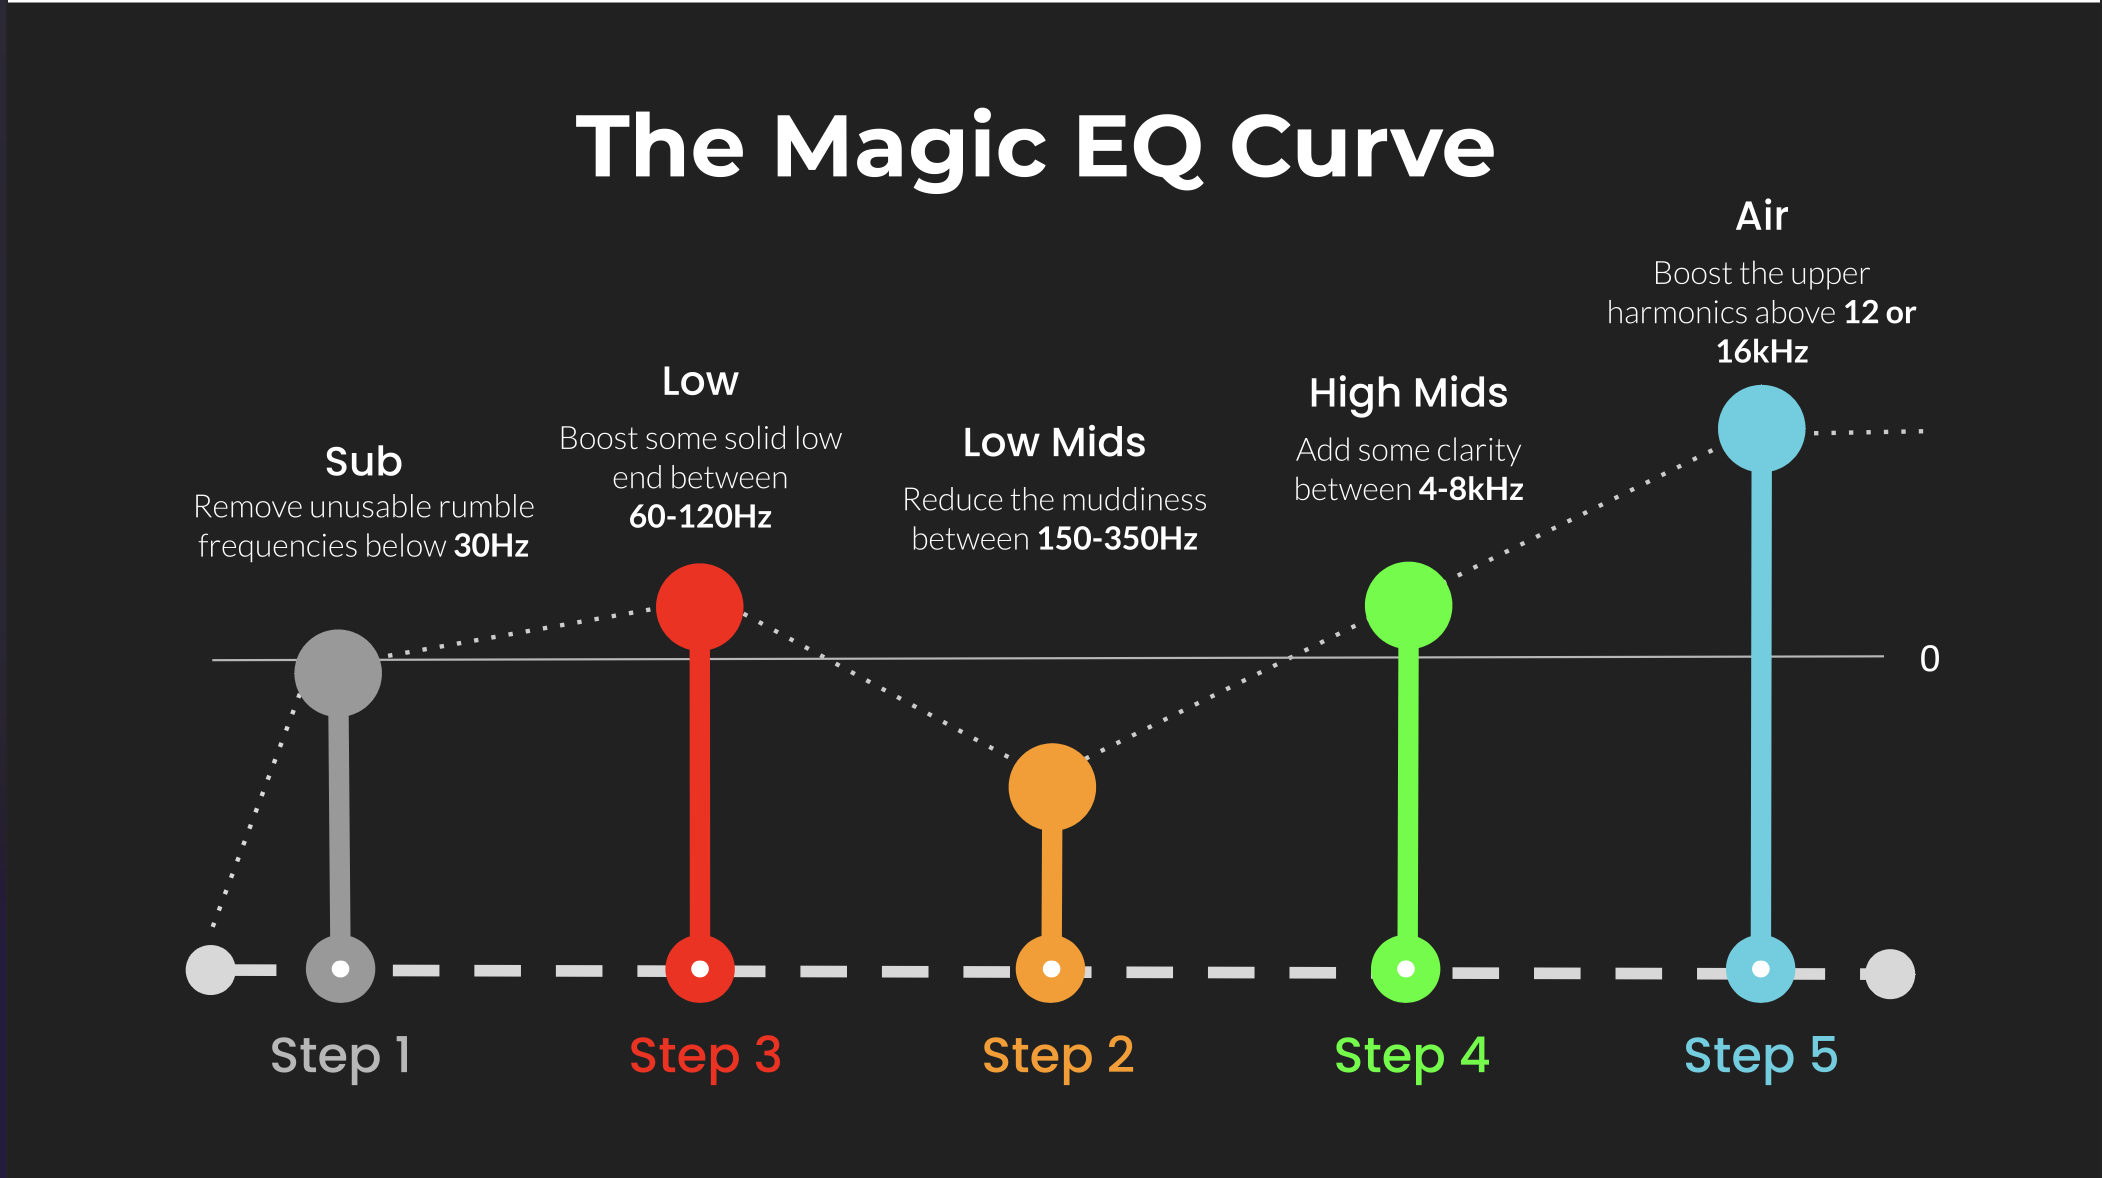 ⭐️ Download my Free Magic EQ settings Guide ⭐️

⭐️ Download my Free Magic Reverb settings Guide ⭐️
#protools #daw #homestudio #recordingschool #recording #musicproduction
Also read:
How to Start Your Own Online Business Teaching Music

Hey, I’m Futch – Music Production Coach and Ableton Certified Trainer

Learn how to make your first song and beat in Ableton Live with my
FREE 90-minute Ableton Live course
I’ve been teaching audio engineering and music production for 35 years.⭐️
Check out my new online music production program: Music Production Ninja…